Paint your home like an expert
Achieve a flawless finish on your interior walls with our handy do-it-yourself step-by-step guide.
A fresh coat of paint is the quickest and easiest way to improve the look of your home and increase its value. Whether you’re after a complete change, or a just a bit of an update, painting is by far the easiest and most cost-effective way to freshen your interiors.
Modern paints are getting better all the time, so it's easier for DIYers to achieve great results. Best of all, with faster drying times, your painting project can be done in a matter of hours. You can put your feet up and admire your work well before the sun sets!
So what comes first? As we all know, preparation is key. You'll need to get yourself ready with the right tools, equipment and quality paint. Let the project begin!
Choosing the paint
1 - How many litres?
You can estimate the number of litres you will need by measuring each wall of the room. Multiply the height and width to calculate the area in square metres. Double or triple this number depending on the number of coats you will need. If your surface is currently a light hue, you may be able to use one of the new 'one coat' formulas. The expected coverage of a paint will be listed on the packaging.
Here is a convenient and helpful painting cost calculator from Inspiration Paints?
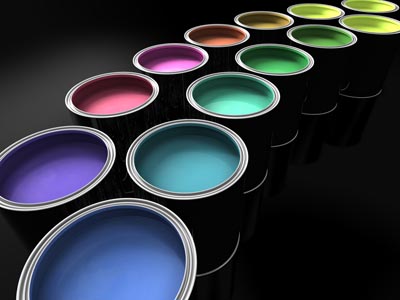
2 - Getting clever with colour
This is the fun part, where you can unleash your inner decorator. You might want to play it safe with neutrals, creams and whites. These classic shades will complement changing furnishings and reduce the need to update in the future. Or you might decide to aim for a more impact by going with a bold colour choice that’s on trend. Don’t forget you can also use a deeper or contrasting shade to create an accent wall. The lower cost of DIY painting allows you to experiment more easily, so the only limit is your imagination. However, it’s very important to paint sample pots or use selected colour squares on your wall before you firm up your choice. Paint colours can vary enormously, depending on the light, the floor covering and the surrounding furnishings. Take the time to assess your colour choice at different times of the day.
For more information read our article about selecting paint colours.
3 - Water-based vs oil-based paint
Water-based paint has a shorter drying time, is easy to clean up, and requires no special solvent to buy and store. However, in warmer weather, it can sometimes dry too quickly and leave streaks and ridges. Oil-based paint is harder wearing and often gives a smoother finish. The new formulations are less toxic than the old formulas, but you will still require special solvents for clean-up. Oil-based paint also has a slower drying time.
4 - Paint finish
You have a choice between matte, satin (aka semi-gloss) and high gloss in flat paints. Generally, matte or satin is used for walls, and high gloss is used for doors and trims. Matte is a good choice for surfaces with imperfections, as it reflects less light and will disguise lumps and bumps. Satin and high gloss paints are easier to wipe over and keep clean. Use paint with anti-fungicide additives for bathrooms and any area where mould may be a problem.
For more information read our article about paint finishes.
5 - Special effects
Paint manufacturers have been hard at work creating a number of interesting and beautiful 'special effects' paints. The range includes finishes that resemble silk, suede or stone. These amazing colours and textures are easily achieved with different techniques and painting tools. It’s a a big step up from the old splattery effects of the past!
If you really feel adventurous you might find this article of interest: DIY 3D Wall Panels.
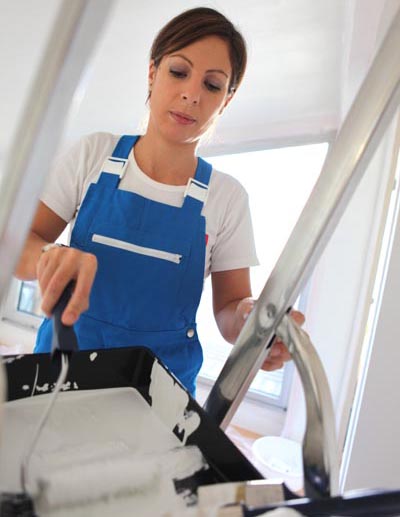
The right equipment
1 - Paint rollers
Rollers help you breeze through larger areas. Use wide rollers for maximum coverage and swap to narrow rollers for painting around edges after cutting in with a brush. Roller sleeves also come in different nap lengths. A short nap leaves a thin smooth coating, but holds the least amount of paint. A medium nap gives a slightly textured effect, while a long nap holds the most paint and gives the greatest amount of paint texture when dry. Roller sleeves can be purchased very cheaply, however it pays to get better quality. Sheepskin roller covers are the best quality. There are sheepskin corner and cornice rollers that make painting corners quick and easy. Make sure you rinse and dry the roller to remove any dust or fibres before painting. Use solvent or water depending on the paint type.
2 - Brushes
Have at least one narrow and one wide brush. While some painters prefer natural bristles, they can overly absorb the water based paints and go limp. Synthetic brushes can often be a better choice.
3 - Paint tray, roller ramp, or painters bucket
The old paint tray is still useful, but there are now products on the market that can convert any tin of paint into a roller tray. A roller ramp comes in various sizes and slides into the paint tin to form a rolling surface. No messy pouring! A painters bucket takes things to the next level. These rectangular buckets have an inbuilt ramp for the roller and a handle for easy carrying and hanging.
4 - Paint stirrer
A paint stirrer is an essential tool, as the components in the paint need to be thoroughly mixed before application. A specially designed stirring tool is a better choice than a piece of wood or your child’s school ruler. Get your hands on a flat plastic mixer (like a ruler with holes), a mixing paddle, or a round tool that ‘mashes’ the paint.
5 - Rags
Keep a good supply of rags on hand to clean up spills and splatters as the job progresses.
6 - Tape
Unless you're confident you can achieve a straight edge, it’s best to use painters tape to cover skirting boards, trims and cornices. Yes, it’s a bit of work to lay the tape, but it makes painting much faster in the end.
Surface preparation
For a complete and comprehensive guide on this subject read our article entitled: DIY painting preparation.
Avoid a case of paint measles
Excess paint can spray and drip in the most surprising places, leaving you with an annoying and time-consuming clean-up task. Here’s some tips to fighting the paint measles:
- Don't overload the roller or brush with paint. Gravity and centrifugal force will act upon excess paint and lead to drips and splatters.
- Thick nap means more paint being held in the roller, which coats better and gives texture. The downside is that it also leads to more splatter. Thinner naps will cut the spray.
- Take your time. Slow rolling leads to less spray.
- Use a roller shield. This is a semi-circular device that attaches to the roller handle and catches the splatter.
- Use the right width of paint tray or roller ramp. Too wide a tray allows paint to collect at the roller ends, which will then splatter and drip.
- Avoid overfilling the tray, as this will also encourage paint to collect at the ends of the roller.
- Paint from the top down.
- If you’re in a hurry to paint quickly, protect surfaces from splatter with drop sheets, paper and masking. Cover yourself with glasses, a disposable plastic suit and a shower cap.
Tips from professional painters
- Tint the primer. This is as simple as mixing a small amount of your top coat paint into the primer.
- Use good quality brushes and rollers. Good tools work well, and leave a better finish to the job.
- Simplify the job by moving all furniture out of the room. Less shifting and no tripping with paint in hand!
- Note the brand and colour of paint used for your new paint job, and also keep any left overs for touch ups.
- Use heavy drop sheets for protection rather than flimsy plastic sheets. Although plastic is easily disposed, it is lightweight and will easily shift out of place. Areas can be exposed and it creates a tripping hazard. Plastic can be taped to the floor, but a heavy re-usable canvas drop sheet is usually the best choice.
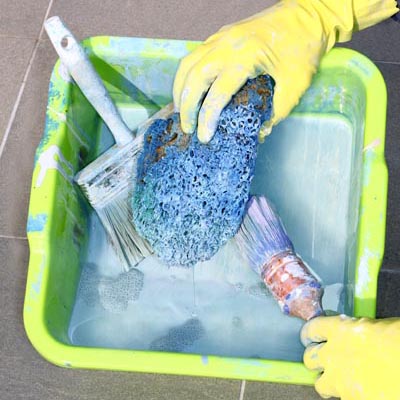
- Clean and maintain your tools well. There is no point in buying the best tools if your second use of them is spoilt by crusted paint from a rushed cleaning job. If you are setting brushes and rollers down for a short time, you can wrap them tightly in plastic bags to prevent drying.
Bunnings video - How to paint (step 1 of 9)