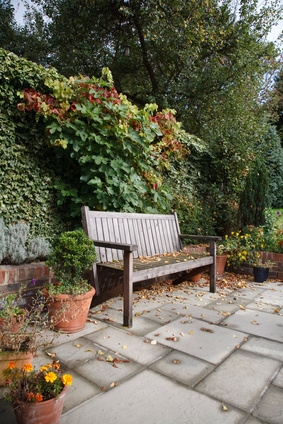
Sprucing up your yard is one of the easiest ways to add value to your home. Most people are quite comfortable implementing the planting (soft landscaping) side of landscaping but what about the hard landscaping, such as paving? Paving is not as hard as you may think. Here are four easy steps to creating a paved courtyard.
Step 1. Planning.
The most important step
What you will need: Graph paper, scale rule, pencil, can of spray paint, 'bricklaying' sand, tape measure, spirit level, 1 piece of 45x90mm timber (at least 2000mm long), cement or timber edging, galvanised nails, pavers, extra sand for filling between pavers, a broom and water.
You first need to think about why you need your courtyard. As an example we are going to design a courtyard off a main entry. Make a list of all the things your courtyard needs. For example:
The courtyard needs to...
- Accommodate at least 6 people at a time
- Allow dirt to fall before getting into the house
- Provide a sense of entry to my home
- Act as a transition level between the ground and the entry floor level
In other words you need enough space for a small group of people to mingle, a transition space between the ground area and the entry for dirt to fall off peoples shoes, a noticeable enough area to provide a visual sense of entry, and a floor high enough to be a comfortable step-up from the ground to the entry.
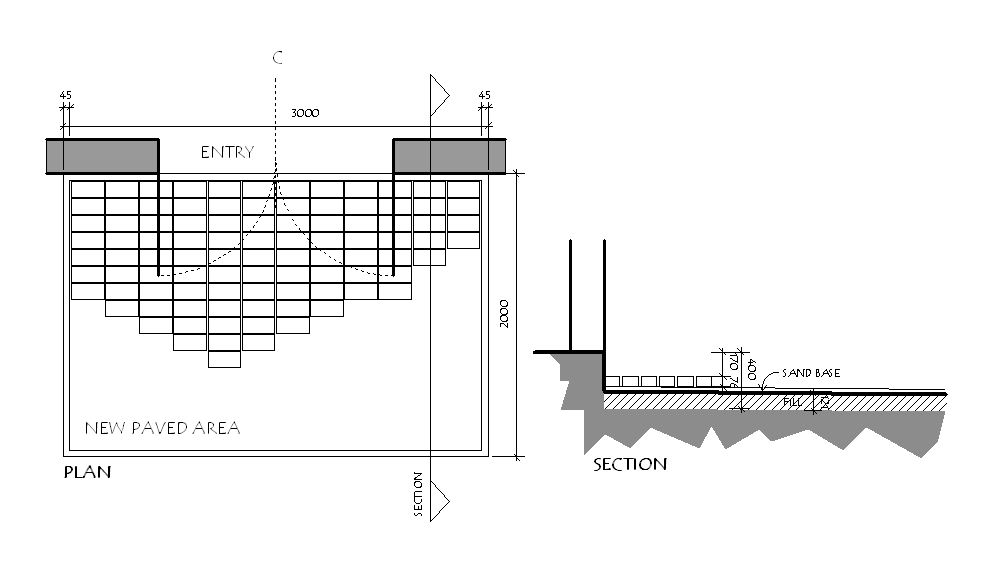
Based on the above requirements the paved area should work well with the following dimensions: 3,000mm wide x 2,000mm deep and 170mm high. Note: The reason we need to talk in millimetres is that every millimetre matters in construction, especially when we have a step-up involved.
The step-up to the floor level should be between 160 and 200mm for comfort and safety. Step heights outside this range become a tripping and falling hazards.
You also need to consider waterproofing the paved area from the internal floor level. As drawn, it is better to provide a step up to the entry space. This will reduce the risk of rainwater entering the house. It is also a good idea to have a fall away from the house to avoid pooling, or water entering the house.
Draw a rough plan to scale (use 1:100 which means that 1 cm on your plan will equal 1 metre of paved area). Draw a section plan in 1:50 scale (preferably) so you can refer to it regularly to help you keep on track.
Note: having a step-up to an entry may lose the neat look you maybe going for. For a seamless floor transition you should engage a professional.
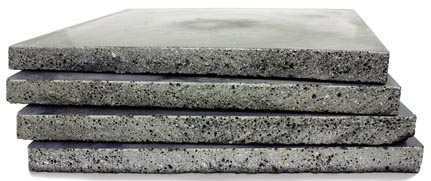
Don't choose a paver you can't lift
Edging
Will you be installing a timber edge or a seamless cement edge to hold the paved area together? We'll talk more about this further on.
Pavers
Choose pavers so that they match or improve the aesthetics of your home. Terracotta is incredible hardwearing and easy to clean. Concrete tiles tend to fade and are difficult to clean. Natural stone is extremely hardwearing. Pick a size that suits "the look" you're going for and make sure you can comfortably lift one of the pavers before you buy any.
Step 2. Preparation really important as well
Properly preparing the area where you plan to pave will ensure your pavers stay level and do not move. Start by spray-painting the plan of your courtyard on the ground. Ensure you create a rectangular area with proper 90-degree right angles. See method below.
As a general rule you should centre your courtyard with the opening to the house. This will make your courtyard seem symmetrical and complimentary to the existing house.
Stand in the spray-painted area and take in your surroundings. Imagine using the space. Imagine what will be in the space, and how you will interact with internal and external space. You may feel it is too big or small, in which case you will need to change your plan. Confirming the area is correctly designed before you start will save you time and money.
Clear the area to be paved of all vegetation, including roots. If you need to dig, call "Dial before you Dig" and they will let you know if there is anything in the ground you need to be aware of. Refer back to your drawings and calculate the levels in relation to existing ground and entry levels, with material thicknesses included. Use will need your scale rule.
Once the space is clear it will need levelling. The quick way to level is to hire a mechanical leveller. Alternatively you can level the area by hand using a shovel and your feet, but it just takes longer. Hand level the area as best you can by filling any holes and taking the top off any bumps.
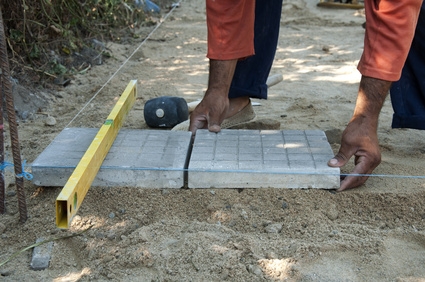
While the ground is dry, level the ground again with a long piece of 2x4 timber that is at least 2,000mm in length. Lay the timber on the cleared area with one end towards the house laying it perpendicular to the house.
Start at one end of the cleared area and shuffle the timber along the ground while moving parallel to the house to the other side of the cleared space. Create a fall in the ground away from the house. As a general rule fall the ground 10mm /metre of ground. This will be enough to keep water away from the house and it should not be noticeable to the casual obeserver.
Use a spirit level to ensure that your cleared area is the same level on both sides next to the house. Check that the same level is achieved for the cleared corners away from the house.
Water the cleared area well and then allow ground to settle. Check for more holes and lumps and fix as required.
Edging
Timber edge: If you are going to use a timber edge, place the lengths of timber on the edge of your paved area. Allow enough space for the width and depth of your pavers including the 3mm gaps between the pavers. Cut the timber edging to the required length and nail together, keeping the area square. The frame will act as a support frame for pavers and the sand base. If you are going to build a cement base read the section below.
Paver base
Depending of how perfect you want your paved area to be there are three options for the construction of the base:
(i) Concrete base
If you want a concrete base call a professional. If you are installing pavers for a driveway use pavers with a minimum thickness of 45mm.
Laying pavers
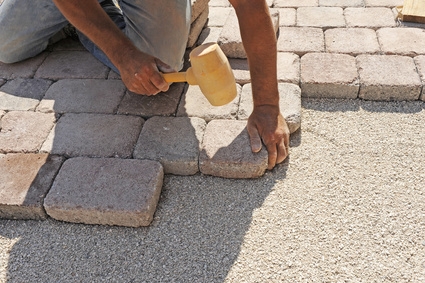
Tap pavers into place
Filling the joints
(ii) Sand base
If you want a surface that allows water penetration with a smooth finished surface, use a stabilised sand base. For an area 3000 x 2000mm you will need about a cubic metres of sand. Lay 2/3 of the sand over the cleared space, then compact and work flat with the long piece of timber, keeping the new ground levels and falls in mind. Work in the unfilled space as much as possible, going over to the level sand bed only to lay your pavers.
(iii) Natural ground
If you don't mind a rustic paved area with a little movement you can use the natural ground as a base.
Step 3. Laying your pavers its easy!
This is the easiest and simplest part of the job. Create a set-out point at the most visual part of the court yard, for this example that would be the centre and closest side to the house. Use a large piece of ply to stand on while you're paving so you don't mess up the sand base and be careful when moving your ply around the paved area. Start laying your tiles from the set-out point allowing an average 3mm gap between each paver. Once pavers are all in place, stabilise the edges with a little cement mix all around.
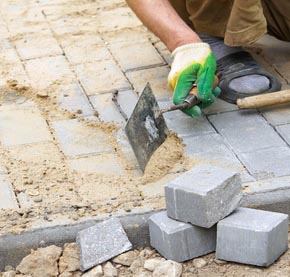
Don't cut pavers if you don't need to, it can look messy and it's more work. Although if you do need to cut a paver just score on both sides as shown in the picture.
Step 4. Filling the joints
Filling the joints is easy, just pour the remaining sand over the entire paved area and work it in with a broom. Ensure the sand is dry otherwise it won't fall into the joints easily. Water over the paved area when you think all the gaps are filled and let the sand settle. You will notice the sand has dropped into place, so when the sand has dried out pour more sand over the paved area and broom into gaps again. Done!