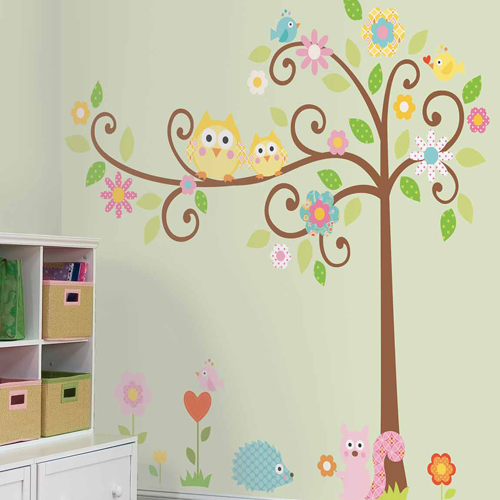
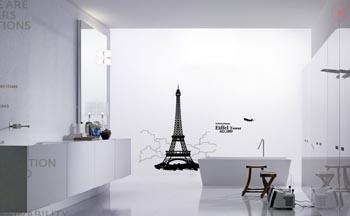
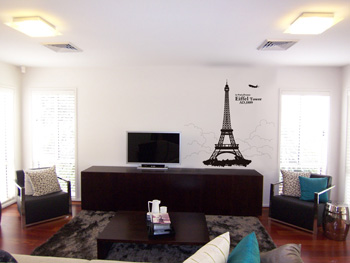
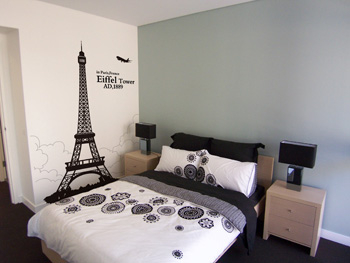
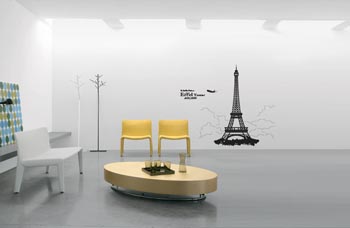
Removable wall decals are one of the simplest ways to add a mural-like decoration to any room (or office). They are self adhesive, come with easy to follow instructions and can be removed later without damaging the wall surface or leaving behind any sticky residue. Decals are made from vinyl and can be used in any internal room of your home or office.
Wall decals are best applied to relatively smooth surfaces where the paint has fully cured. It is best to wait approx 2 weeks after painting before you apply a decal. Decals can be used on mirrors, windows, metal, plaster, gyprock walls that have been sealed, and some cement rendered surfaces. On cement render we recommend testing a small decal first because the textured surface may affect long term adhesion of the decal. Decals can also be used on furniture, tiles or anything where the surface has been painted or sealed and is reasonably smooth.
Step-by-step wall decal installation instructions
- Ensure surface is dust and grease free
- Clean with sugar soap and rinse if grime is present
- Read instructions
- Peel decal or sticker from backing and position lightly
- If the decal is large having a second person will make it easier during installation
- Apply and smooth over decal surface with a soft cloth
Wall decal installation steps
- On some surfaces e.g mirrors, windows, or metals the decal may stick quickly. To avoid this and allow repositioning dampen the surface slightly and then apply your decal
- Try to avoid handling the adhesive side too much and don’t drop onto a dusty surface e.g carpet. It will cause problems with adhesion.
- Place your decal under heavy books for a few hours to help flatten it out before you remove backing and attempt application.
- Mark your wall with some chalk lightly as a guideline on where you are going to place your decal. Alternately you can position it by using a small amount of low tack tape and then stand back to view and to ensure it’s exactly where you want it.
How to avoid problems:
- Do not apply to fresh paint. The evaporating solvents during drying can make their way into the adhesive on the decal and render it useless. Wait 2-3 weeks for your paint to “cure”. Touch dry is not appropriate for application of your decal
- Test on painted render surfaces and avoid using on some paint finishes like suede effects and render or stone effects. The texture will often cause edges to lift.
- Do not apply to cold damp surfaces; e.g., a moist bathroom or laundry wall or tiles. Wait till warmer and surface is dry. Wall decals are suitable for using in these areas though.
- Do not apply to walls in a home that has just had the floors coated with a solvent type sealer. As the floor coating is drying, some solvents can also affect the sticker adhering properly
- Some Paint companies may add “Teflon” to their wall finishes enhancing durability for cleaning. These finishes may affect the adhesion of some decals.
- Discourage young fingers from peeling back and touching. Eventually the sticker edge will curl and will not be able to be stuck back down
- If you have a reusable wall decal and wish to use it later in another location, ensure you keep the packaging and original backing so it can be stuck back and transported easily. You can also use baking paper if original packaging is no longer available.